Hướng dẫn sử dụng bộ điều khiển Worm 3D cho Unity
Trong hướng dẫn này, tôi sẽ trình bày cách tạo một bộ điều khiển sâu đơn giản trong Unity, lấy cảm hứng từ loạt bài hướng dẫn phát triển trò chơi dành cho người mới bắt đầu TornadoTwins.
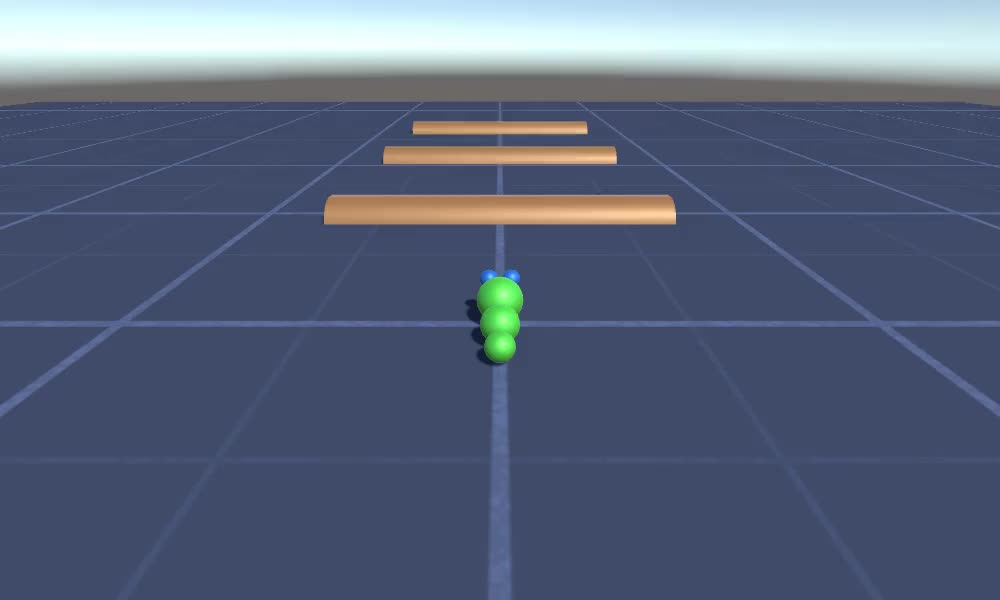
Bộ điều khiển sâu sẽ trườn xung quanh với hiệu ứng bám đuôi mượt mà và có khả năng nhảy.
Các tập lệnh trong hướng dẫn này ban đầu được viết bằng JavaScript (còn gọi là UnityScript) nhưng không còn được hỗ trợ nữa, vì vậy tôi sẽ cung cấp một giải pháp thay thế C#.
Để tạo bộ điều khiển sâu trong Unity chúng ta sẽ cần:
- Tạo các tập lệnh cần thiết
- Tạo nhân vật sâu
- Gán kịch bản cho nhân vật
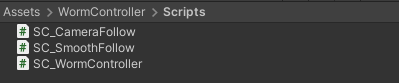
Bước 1: Tạo tất cả các tập lệnh cần thiết
Hãy bắt đầu bằng cách tạo tất cả các tập lệnh cần thiết để thiết lập bộ điều khiển sâu:
- Tạo một tập lệnh mới, gọi nó là "SC_WormController" và dán đoạn mã bên dưới vào bên trong nó:
SC_WormController.cs
using System.Collections;
using System.Collections.Generic;
using UnityEngine;

[RequireComponent(typeof(CharacterController))]
public class SC_WormController : MonoBehaviour
{
    public float speed = 3.0f;
    public float rotateSpeed = 1.0f;
    public float jumpSpeed = 5.0f;
    public float gravity = 9.8f;

    CharacterController controller;
    Vector3 moveDirection;

    // Start is called before the first frame update
    void Start()
    {
        controller = GetComponent<CharacterController>();
    }

    // Update is called once per frame
    void Update()
    {
        // Rotate around y - axis
        transform.Rotate(0, Input.GetAxis("Horizontal") * rotateSpeed, 0);

        // Move forward / backward
        Vector3 forward = transform.TransformDirection(Vector3.forward);
        float curSpeed = speed * Input.GetAxis("Vertical");
        float movementDirectionY = moveDirection.y;
        moveDirection = forward * curSpeed;

        // Jumping
        if (Input.GetButtonDown("Jump") && controller.isGrounded)
        {
            moveDirection.y = jumpSpeed;
        }
        else
        {
            moveDirection.y = movementDirectionY;
        }

        // Apply gravity. Gravity is multiplied by deltaTime twice (once here, and once below
        // when the moveDirection is multiplied by deltaTime). This is because gravity should be applied
        // as an acceleration (ms^-2)
        if (!controller.isGrounded)
        {
            moveDirection.y -= gravity * Time.deltaTime;
        }

        // Move the controller
        controller.Move(moveDirection * Time.deltaTime);
    }
}- Tạo một tập lệnh mới, gọi nó là "SC_CameraFollow" và dán đoạn mã bên dưới vào bên trong nó:
SC_CameraFollow.cs
using System.Collections;
using System.Collections.Generic;
using UnityEngine;

public class SC_CameraFollow : MonoBehaviour
{
    /*
    This camera smoothers out rotation around the y-axis and height.
    Horizontal Distance to the target is always fixed.

    There are many different ways to smooth the rotation but doing it this way gives you a lot of control over how the camera behaves.

    For every of those smoothed values we calculate the wanted value and the current value.
    Then we smooth it using the Lerp function.
    Then we apply the smoothed values to the transform's position.
    */

    // The target we are following
    public Transform target;
    // The distance in the x-z plane to the target
    public float distance = 10.0f;
    // the height we want the camera to be above the target
    public float height = 5.0f;
    // How much we
    public float heightDamping = 2.0f;
    public float rotationDamping = 3.0f;

    void LateUpdate()
    {
        // Early out if we don't have a target
        if (!target)
            return;

        // Calculate the current rotation angles
        float wantedRotationAngle = target.eulerAngles.y;
        float wantedHeight = target.position.y + height;
        float currentRotationAngle = transform.eulerAngles.y;
        float currentHeight = transform.position.y;

        // Damp the rotation around the y-axis
        currentRotationAngle = Mathf.LerpAngle(currentRotationAngle, wantedRotationAngle, rotationDamping * Time.deltaTime);

        // Damp the height
        currentHeight = Mathf.Lerp(currentHeight, wantedHeight, heightDamping * Time.deltaTime);

        // Convert the angle into a rotation
        Quaternion currentRotation = Quaternion.Euler(0, currentRotationAngle, 0);

        // Set the position of the camera on the x-z plane to:
        // distance meters behind the target
        transform.position = target.position;
        transform.position -= currentRotation * Vector3.forward * distance;

        // Set the height of the camera
        transform.position = new Vector3(transform.position.x, currentHeight, transform.position.z);

        // Always look at the target
        transform.LookAt(target);
    }
}- Tạo một tập lệnh mới, gọi nó là "SC_SmoothFollow" và dán mã bên dưới vào bên trong nó:
SC_SmoothFollow.cs
using System.Collections;
using System.Collections.Generic;
using UnityEngine;

public class SC_SmoothFollow : MonoBehaviour
{
    // The target we are following
    public Transform target;
    // The distance in the x-z plane to the target
    public float distance = 10.0f;
    // the height we want the camera to be above the target
    public float height = 5.0f;
    // How much we
    public float heightDamping = 2.0f;
    public float rotationDamping = 3.0f;

    // Start is called before the first frame update
    void Start()
    {
        if (!target) return;

        transform.LookAt(target);
    }

    void LateUpdate()
    {
        // Early out if we don't have a target
        if (!target) return;

        // Calculate the current rotation angles
        float wantedRotationAngle = target.eulerAngles.y;
        float wantedHeight = target.position.y + height;

        float currentRotationAngle = transform.eulerAngles.y;
        float currentHeight = transform.position.y;

        // Damp the rotation around the y-axis
        currentRotationAngle = Mathf.LerpAngle(currentRotationAngle, wantedRotationAngle, rotationDamping * Time.deltaTime);

        // Damp the height
        currentHeight = Mathf.Lerp(currentHeight, wantedHeight, heightDamping * Time.deltaTime);

        // Convert the angle into a rotation
        var currentRotation = Quaternion.Euler(0, currentRotationAngle, 0);

        // Set the position of the camera on the x-z plane to:
        // distance meters behind the target
        transform.position = target.position;
        transform.position -= currentRotation * Vector3.forward * distance;

        // Set the height of the camera
        transform.position = new Vector3(transform.position.x, currentHeight, transform.position.z);

        // Always look at the target
        transform.LookAt(target);
    }
}
Bước 2: Tạo nhân vật Worm
Bước tiếp theo là tạo một ký tự sâu:
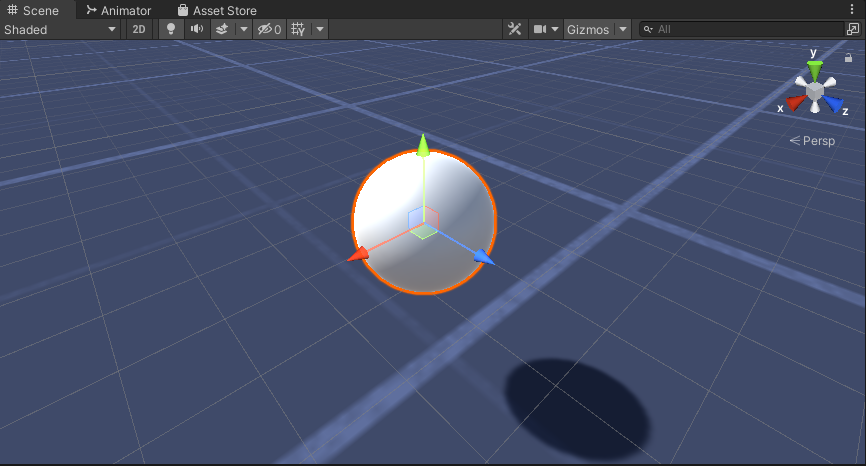
- Tạo một Sphere mới (GameObject -> 3D Object -> Sphere) thay đổi vị trí của nó thành (0, 0, 0), xóa thành phần SphereCollider của nó và đổi tên thành "Worm"
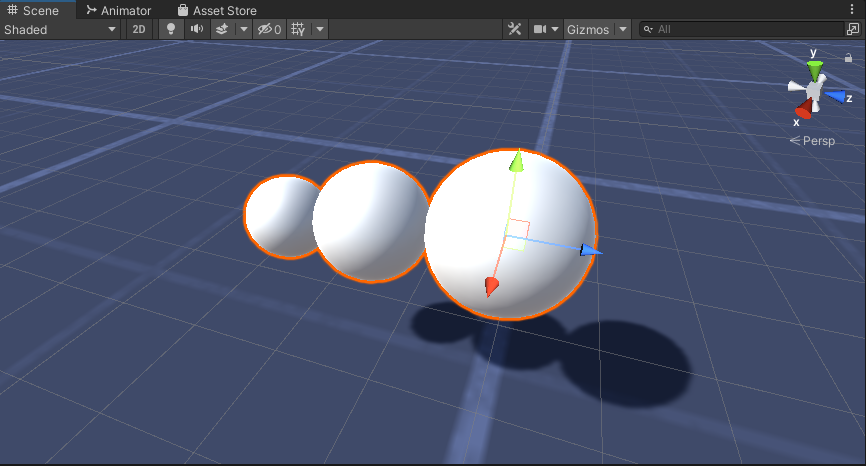
- Nhân đôi hình cầu "Worm", đổi tên thành "BodyPart1", thay đổi vị trí của nó thành (0, -0.1, -0.9) và thay đổi tỷ lệ của nó thành (0.8, 0.8, 0.8)
- Nhân đôi hình cầu "Worm" một lần nữa, đổi tên thành "BodyPart2", thay đổi vị trí của nó thành (0, -0.2, -1.6) và thay đổi tỷ lệ của nó thành (0.6, 0.6, 0.6)
- Nhấp chuột phải vào đối tượng "Worm" -> Create Empty và đổi tên đối tượng vừa tạo thành "Eyes"
- Nhân đôi hình cầu "BodyPart2", đổi tên nó thành "Eye" và di chuyển nó vào trong đối tượng "Eyes", thay đổi vị trí của nó thành (-0,24, 0,353, 0,324) và thay đổi tỷ lệ của nó thành (0,4, 0,4, 0,4)
- Nhân đôi hình cầu "Eye" và thay đổi vị trí X của nó thành 0,24
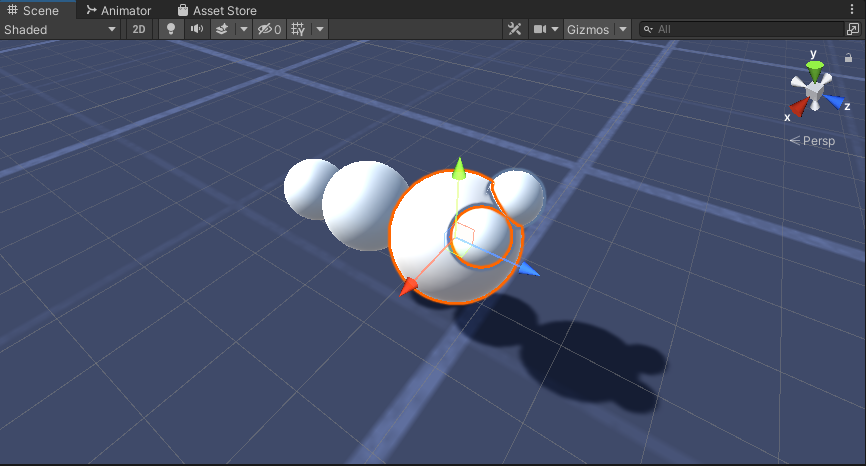
- Để trực quan hóa, bạn có thể tạo một số vật liệu, chẳng hạn như màu xanh lá cây cho phần thân và màu xanh lam cho mắt.
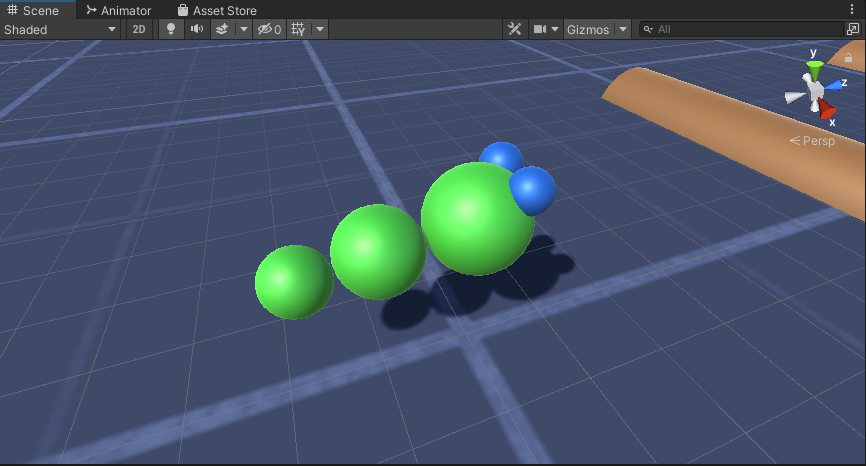
Nhân vật Worm đã sẵn sàng.
Bước 3: Thiết lập Bộ điều khiển Worm
Bước cuối cùng là gán các tập lệnh:
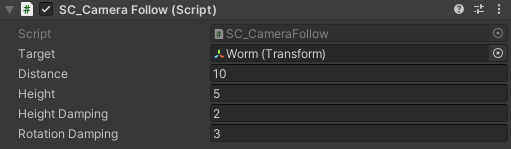
- Đính kèm tập lệnh SC_CameraFollow vào đối tượng Camera chính và gán "Worm" Sphere cho biến mục tiêu:
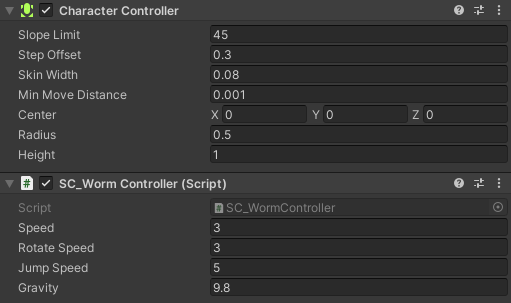
- Đính kèm tập lệnh SC_WormController vào hình cầu "Worm" (Nó sẽ tự động thêm một thành phần khác gọi là CharacterController):
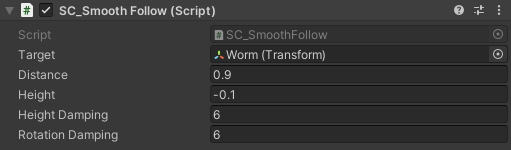
- Đính kèm tập lệnh SC_SmoothFollow vào hình cầu "BodyPart1" và đặt các giá trị của nó giống như trong screenshot bên dưới:
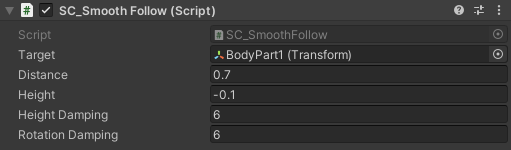
- Đính kèm tập lệnh SC_SmoothFollow vào hình cầu "BodyPart2" và đặt các giá trị của nó giống như trong screenshot bên dưới:
Bộ điều khiển hiện đã sẵn sàng, sử dụng W, A, S và D để di chuyển và Space để nhảy.
Gói nguồn Unity có sẵn bên dưới.